
Before you hire a professional to finish your basement, there are two things you should consider: the type of project and the cost. First, make sure to understand the types of materials and sheet panels you'll require. Also, be sure to understand the process of Mudjacking. This will save your time and money long-term.
Cost of framing
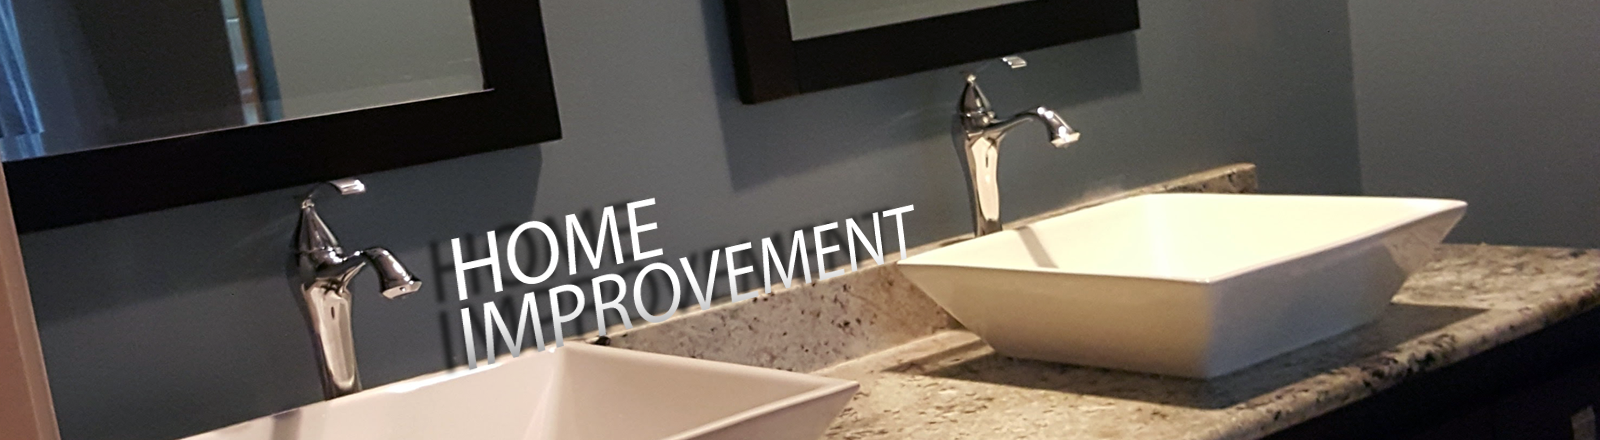
The features you select will influence the cost of basement finishing. While some features might only cost a few thousand, others could cost thousands. This will depend on your location and your specific needs. Frame costs will be higher if your basement has a full bath than if you have a small shower and tub.

Cost of drywall
A precise calculation of the cost per square foot of drywall is essential when estimating the cost for basement finishing jobs. Simply divide the area's perimeter by the width of each panel to determine the cost per sq foot. A conventional panel can range in price from $11 to $25, depending on the style and thickness of the drywall. You also have the option of a basement ceiling made from plywood, wood planks or plastic panels. Although the cost per square feet can vary greatly, a standard sheet will typically cost around $3.30 to $4.50.
Cost of sheet paneling
Sheet paneling is an affordable way to finish basements. Prefinished panels are available in many colors and can be bought for $12 per square footage. For walls with texture, choose paneling with a beveled panel at the middle. This type of paneling is easy to install and comes with seams at the ends. It is approximately $10 to $30 per square feet.
Cost of mudjacking
Mudjacking is the most costly option for basement finishing. It costs approximately $2,400 to $4,800 for an 800-square-foot slab. The process is done by drilling holes in the concrete and injecting a concrete mix underneath the slab. This process can raise the concrete and lift load bearing walls. It is best if you can get a free estimate on the basis of square footage.
Cost to install lighting
There are many factors that will affect the cost of lighting your basement. First, determine the dimensions of your basement, as well as its shape and the amount you plan to cover with lighting. You may consider having multiple lights, or even more, to cover 70 square footage. You should choose recessed lighting over shelves for more even lighting. The ceiling can be made more interesting by adding recessed lighting.
FAQ
Are there any things I should be aware of before I hire a handyman to help me?
It is important to hire someone with experience in your project. Check references and talk to previous customers. You might also consider adding some additional money to cover unexpected expenses. It's important to check that your dog is licensed and insured.
Who will handle my handyman project
Professional handymen are the best option if you're looking for someone local who can do a job such as replacing a light bulb or fixing a leaky faucet. Handyman services are also available for larger jobs like repairing or installing floor tiles.
Handyman Services offers you ongoing support and maintenance.
Do I have to train a handyman?
No. No. You only need to provide the materials needed to complete the task.
Should I pay a handyman by the hour or per-project basis?
It all comes down to personal preference. Some prefer to pay their handyman by the hour. This allows them to see exactly what they charge. Some prefer to pay per completed job, as they might be working on multiple projects simultaneously. Either way is fine.
When is the best time of year to hire handymen?
There is no "right" time to hire handymen. You simply need to get started as soon as possible. You can save money by waiting until after the holidays. You could also pick up the telephone and call various handymen.
Do I need a license in order to become handyman?
To become an independent contractor in most states, you don't need to have a license (as opposed with a salaried worker). However, there are some requirements you must fulfill:
-
At least 18 years of age
-
Get a diploma from high school or GED.
-
Completion of a 4-week course at a vocational high school.
-
A background check is required by the Department of Licensing.
-
Annual registration requires payment of $20
You will also need a workers' comp insurance and a business license.
Statistics
- “Once the pandemic hit, that number fell to about 20%.” (inquirer.com)
- More than 20% of homes in America have outdoor living spaces, including decks and patios. (mrhandyman.com)
- “Before the pandemic, 40% of people asked how we could estimate a job when we weren't there,” Rose recalled. (inquirer.com)
- With a strong housing market, the handyman and general maintenance worker industry are expected to grow by nearly 10% in the next decade. (housecallpro.com)
- According to the U.S. Bureau of Labor Statistics, in May 2020, there are 1,357,630 handymen employed in the U.S.. (angi.com)
External Links
How To
How do I replace a damaged window?
It is one of the most commonly performed home improvements. The job involves repairing the damage done to the glass in your home. Repairs should take about 30 minutes in this situation. If you don't know how to replace broken glass, you could cause more damage to your home. This article provides tips for how to replace broken windows.
First, take the old glasses out of their frames
First, take out all the screws that are holding the glass in place. Next, remove the lock at the top of the lower section of your window frame. Next, move the window up slightly to remove it from the sill plate (the bar that runs below the floor). Finally, use a pry tool to carefully loosen the remaining screws until they pop out of their holes. After the panes are taken off, thoroughly clean them.
Second step: Clean your new glass
Use a dry towel or paper towel to clean the glass. You can clean the glass with a spray bottle containing water and rubbing alcohol if there is any debris underneath.
Third Step: Reinstall new glass
Reattach the window panes into the frames. Begin by gently pressing down on one end of the outermost panel with the tip a screwdriver. Gently push back the pane into place in the opening. Then move to the next pane, pushing it firmly against the previous pane before reattaching it. Continue inserting the windows until they are all assembled. To seal the area where the panes meet, use a silicone caulk gun.
Fourth Step: Repair the area damaged
When installing the new glass, inspect the area around the hole to determine whether any additional repairs are needed. Two small pieces of wood should be placed along the edges of each hole if the crack is near the corner. These wooden blocks will strengthen the window while acting as spacers for the glass during expansion and contraction of the weatherproofing.
Fifth Step: Seal the repaired area
Apply silicone caulking around the edges of the frame after the glass has been replaced. This will create a good seal between the glass and the surrounding wallboard. You can find silicone caulking in hardware stores and online. Choose a color that matches your walls.
Allow the caulking time to dry overnight. After the caulking has dried completely, do not disturb it. If you don't wait long enough, you could cause the caulking to crack when you remove it.